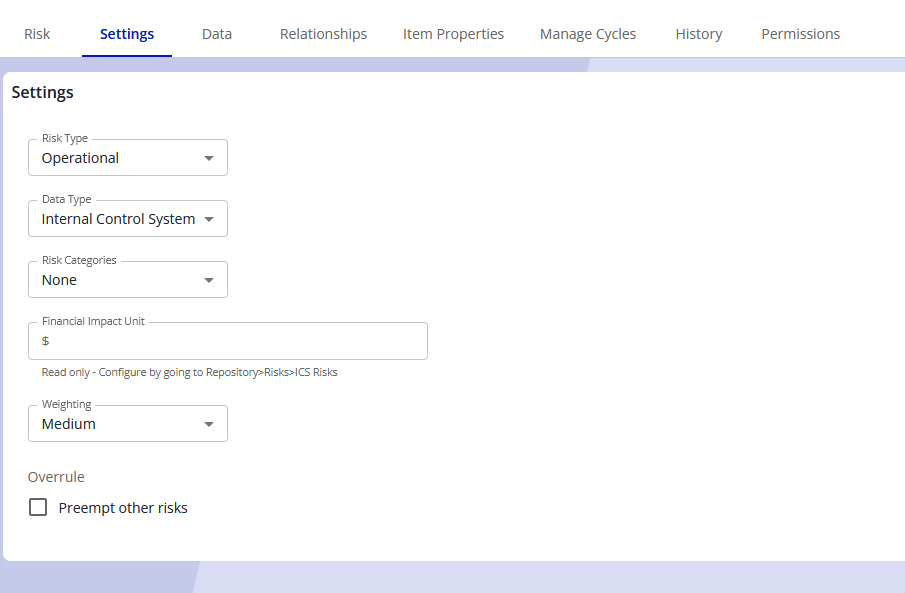
Risk Settings
The data type must be set to Internal Control System to be able to set the data for ICS risks through the UI or the API.
Risk Data
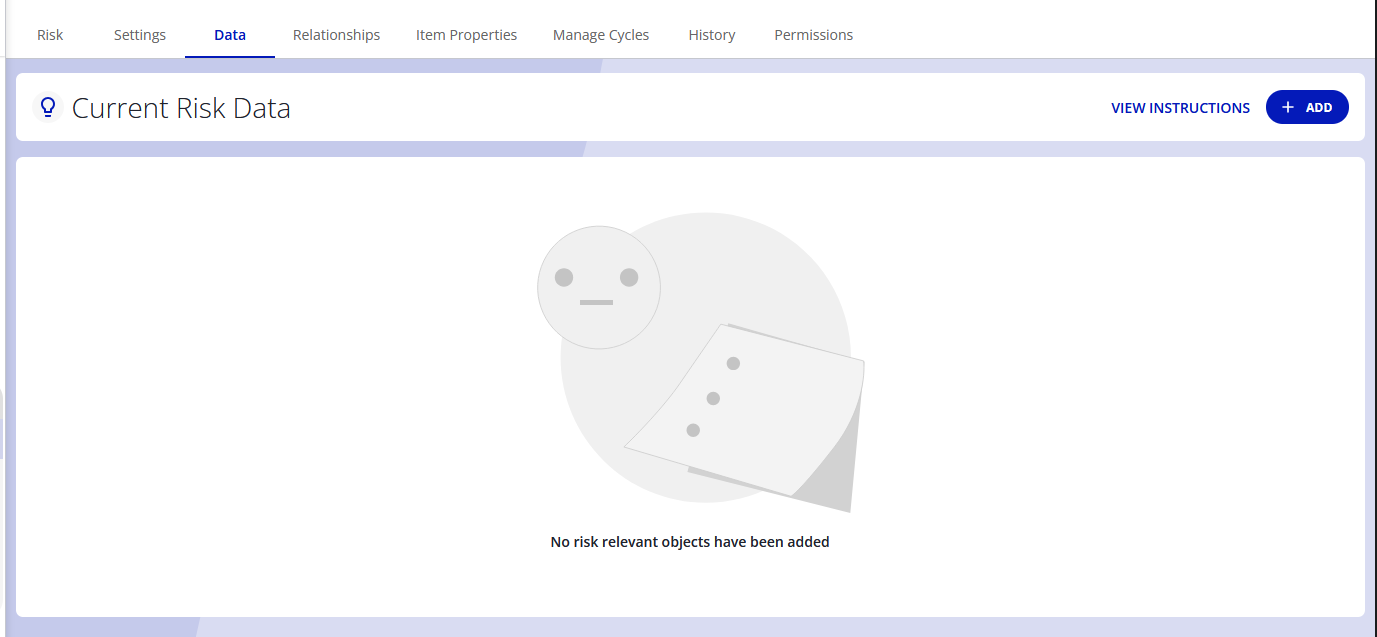
Getting started
After you have marked Resources as risk relevant and created an ICS risk, you can go to the data tab on the risk. Here you will be able to link the risk to the risk relevant object and add data points for it.
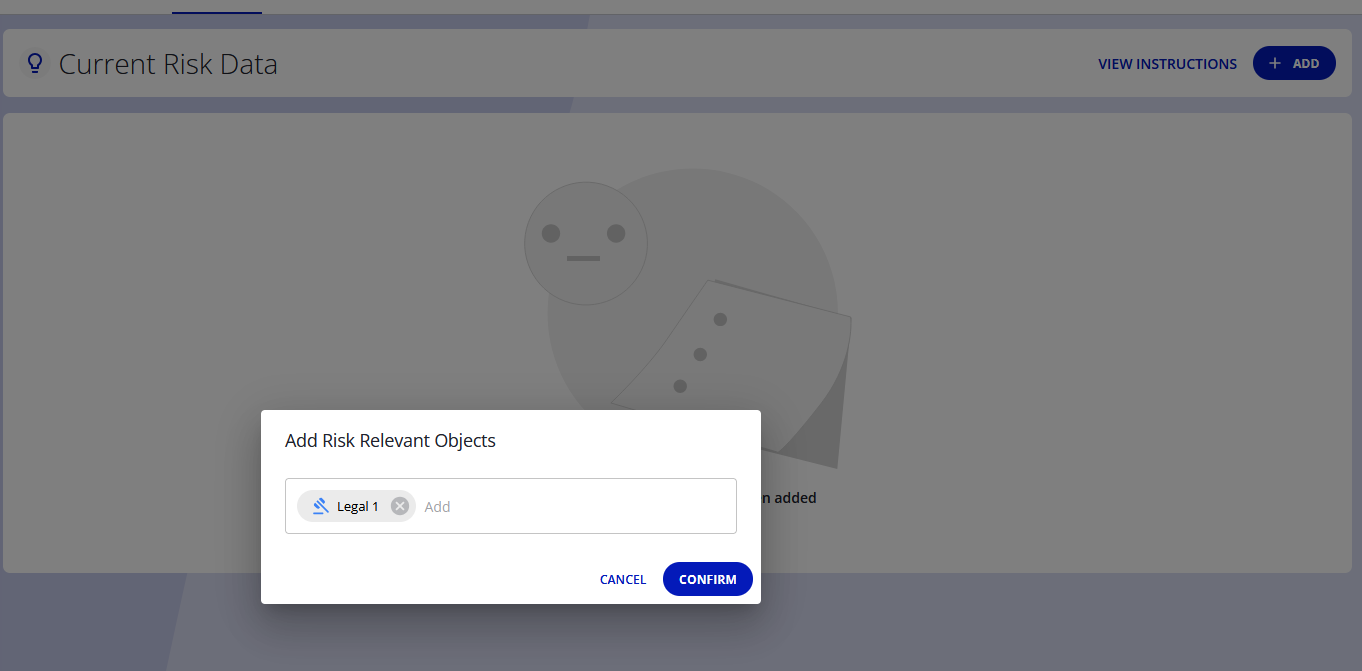
Adding risk relevant objects
Click the add button and click the input field. You can start searching for the object you want to link. Currently this is limited in the UI to just be objects that you have set as risk relevant in the Repository Configuration → Risks → ICS Risks page
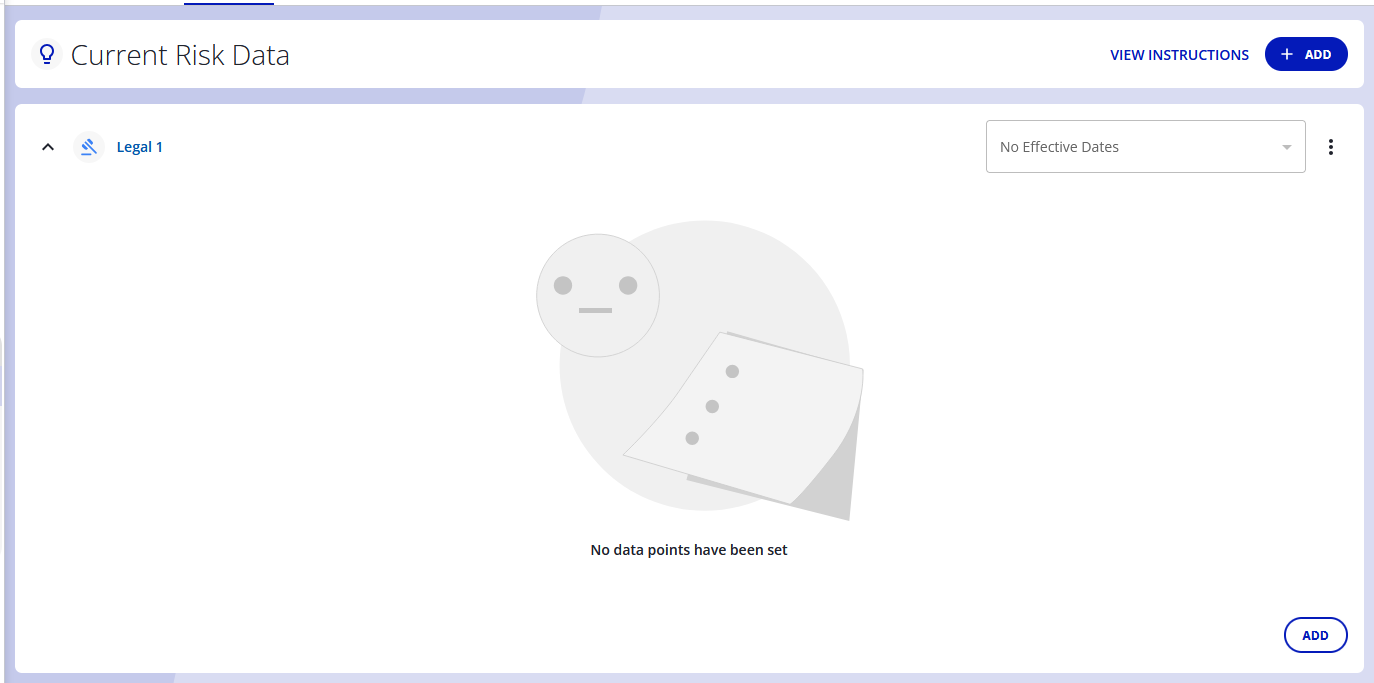
You can add multiple at the same time or at a later point. After clicking add you will see that it added a new section for the resource you selected.

Adding data
Expanding the section will give you the ability to add data for that resource. Click the add button on the bottom right.
After click add you will get screen like this
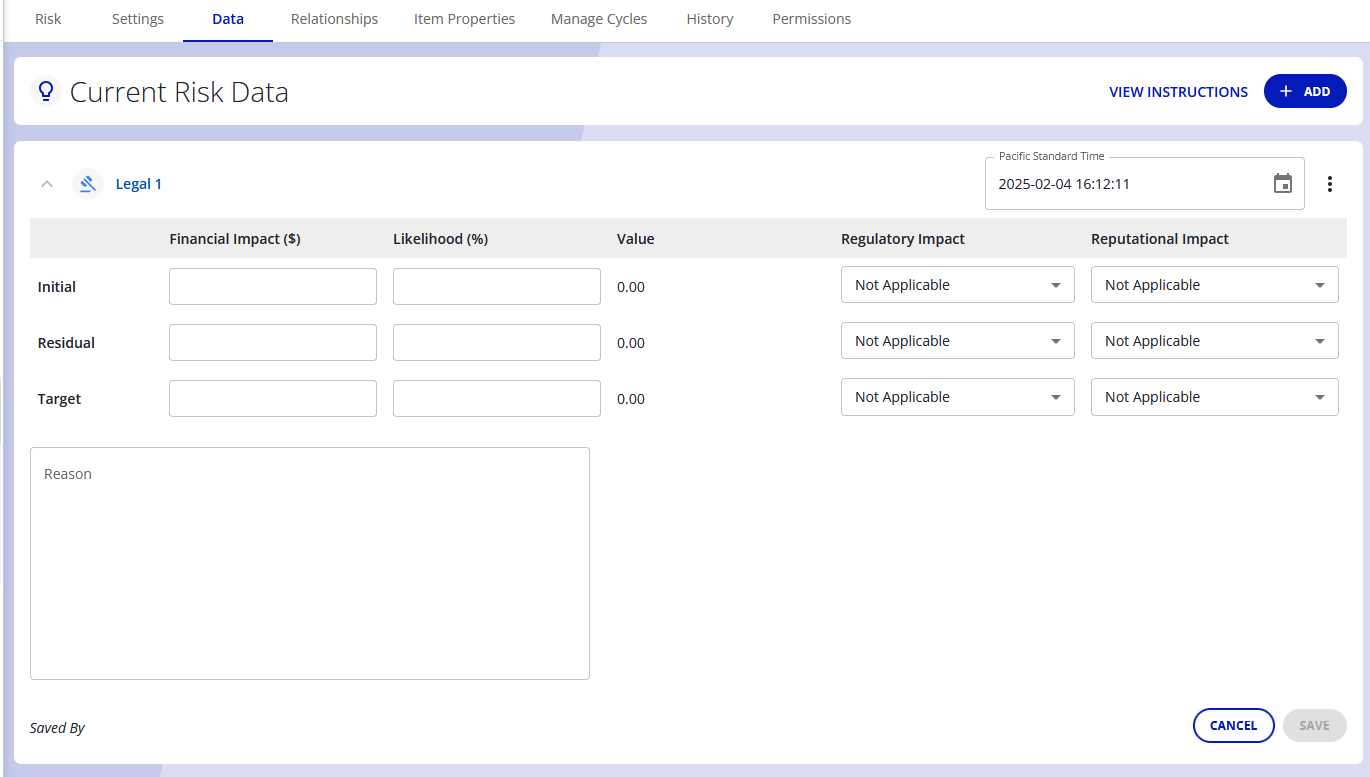
The following fields are required:
-
Date
-
Financial Impact (initial, residual and target)
-
Likelihood (initial, residual and target)
-
Reason
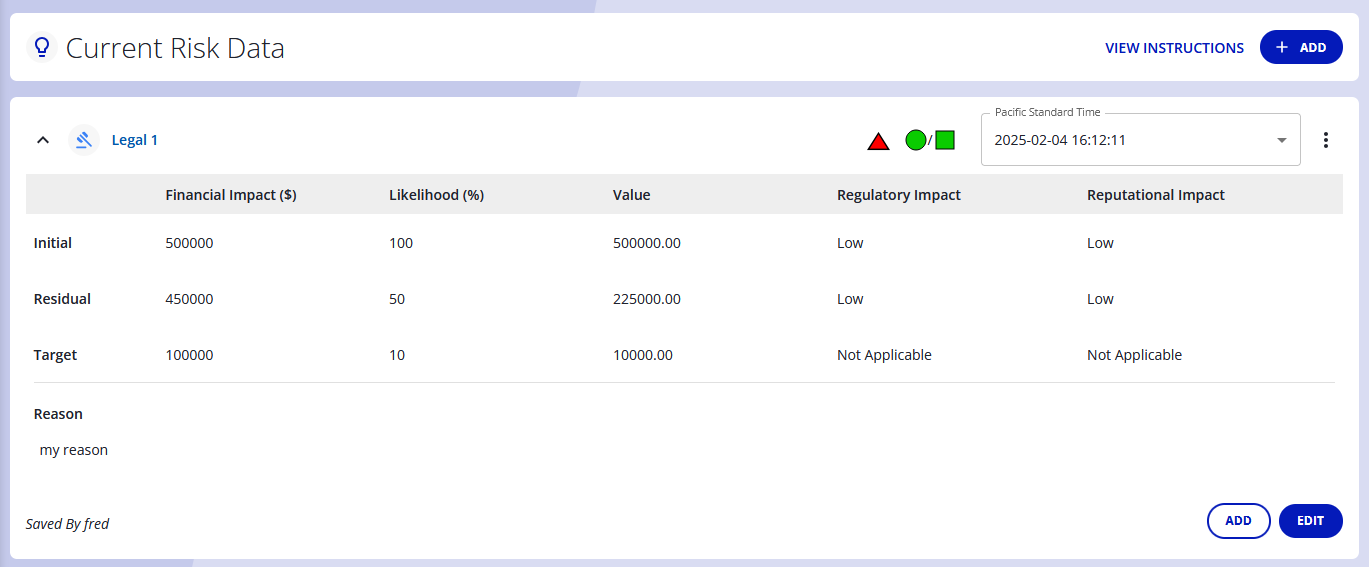
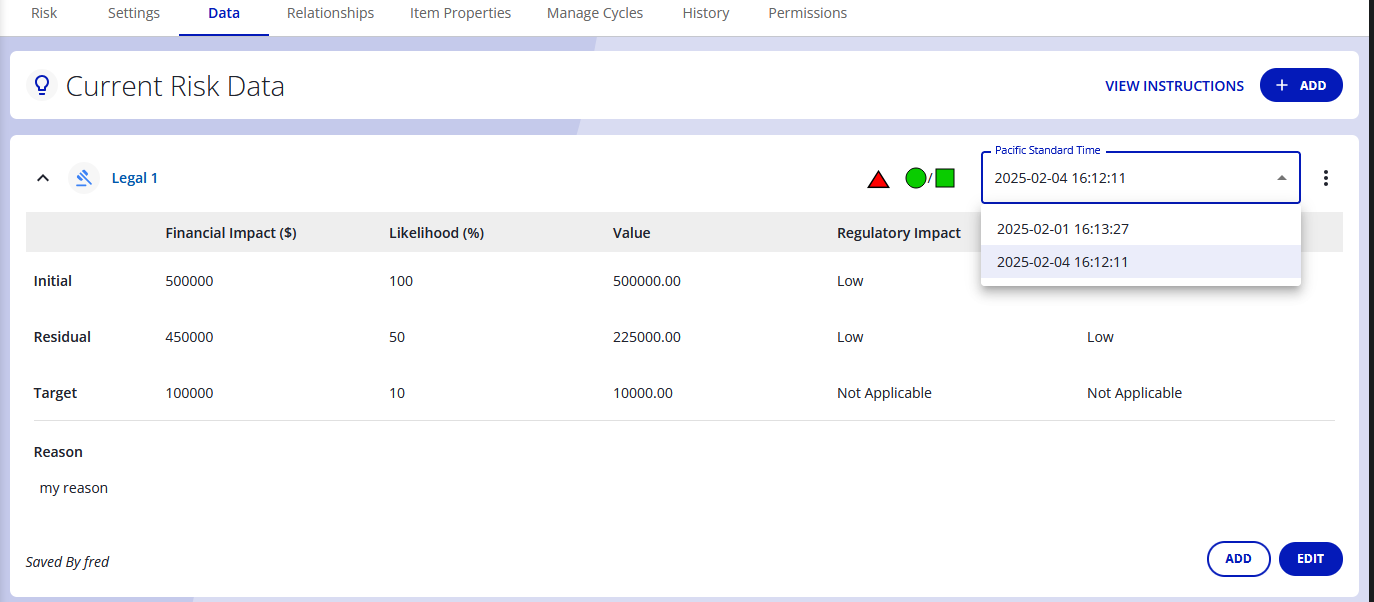
After clicking save it will show you the entered data. Any older data may be selected from the date dropdown in order to edit or remove those values
Edit
If you have existing data that you want to change you can click the edit button. After clicking edit you will be able to change every field but the date and the saved by
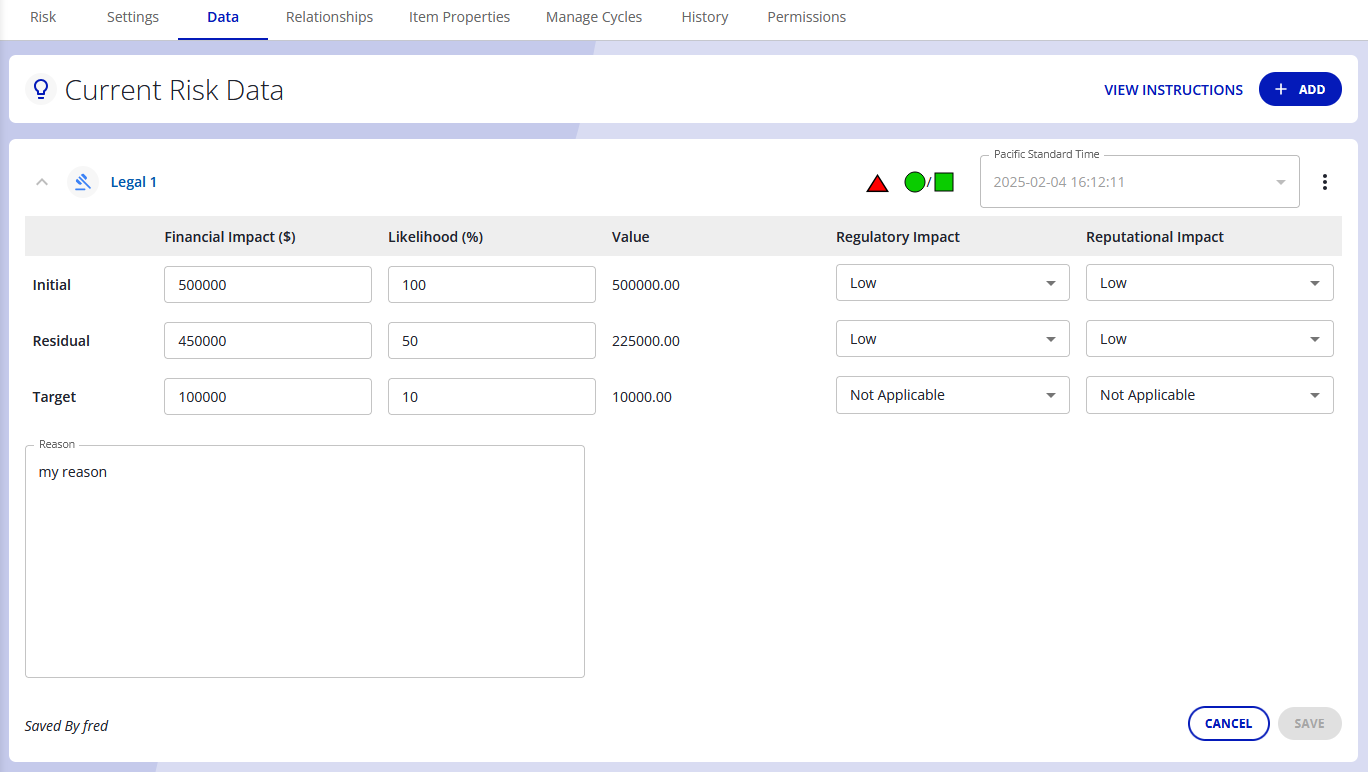
Clicking cancel will not save any changes and save button will update that data point.
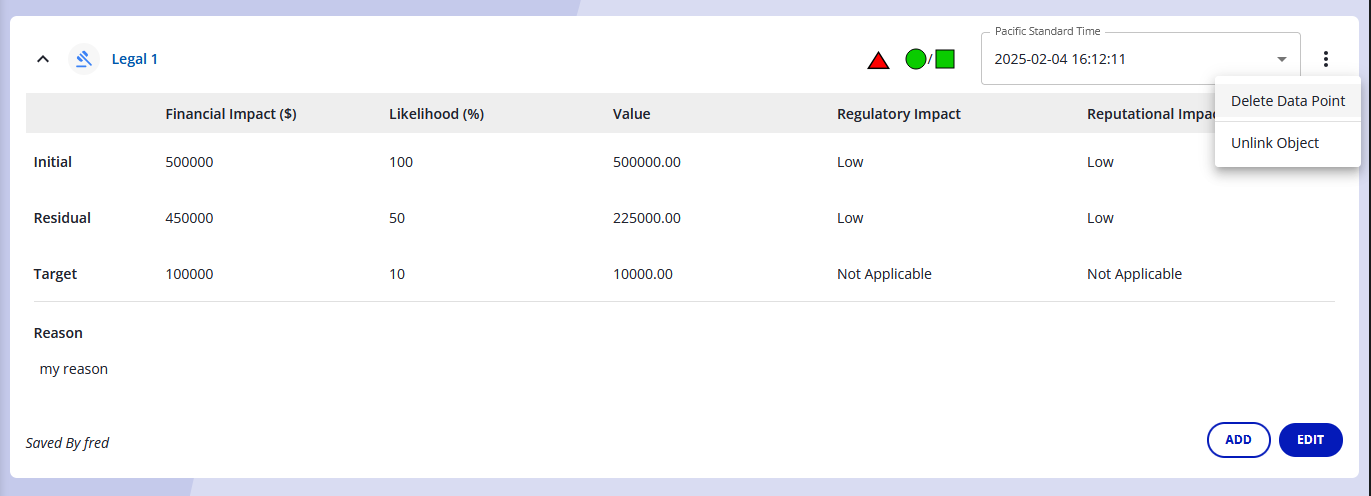
Delete
Clicking the 3 vertical dots will provide you with more options. These options include delete and unlink. These options can only be selected if you are not currently adding or editing an existing data point. If you click the delete a dialog will popup asking you to confirm that this is what you want to do.
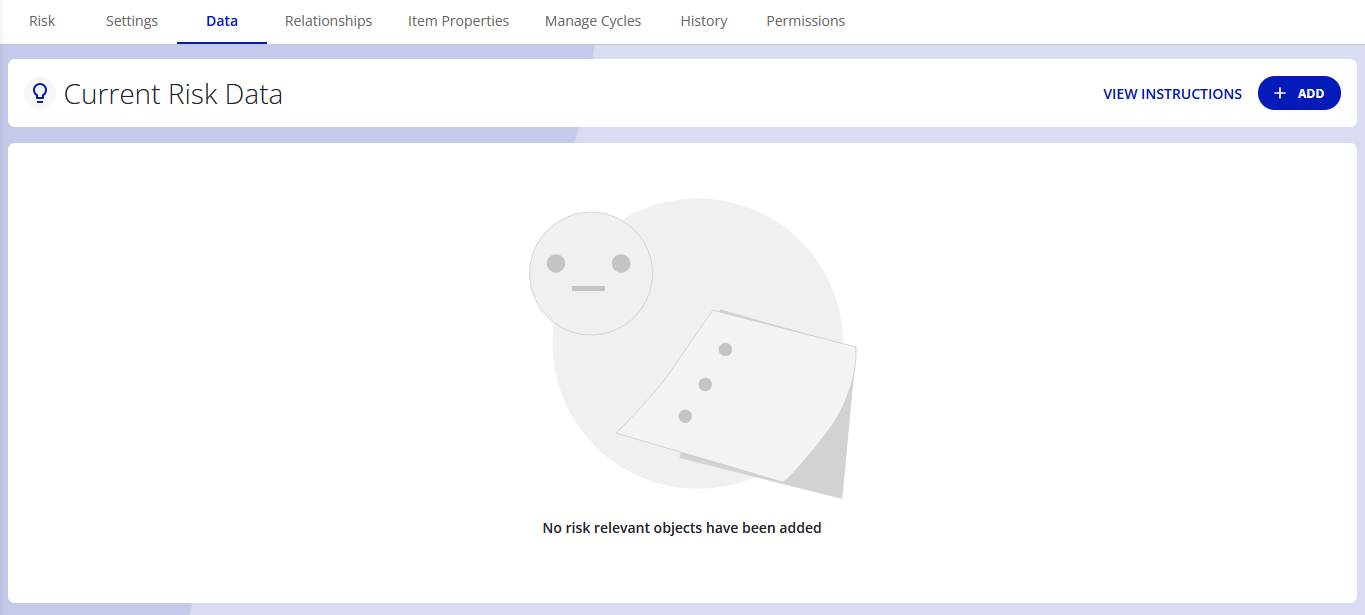
After clicking confirm that data point will be removed and it will select the currently effective data point.
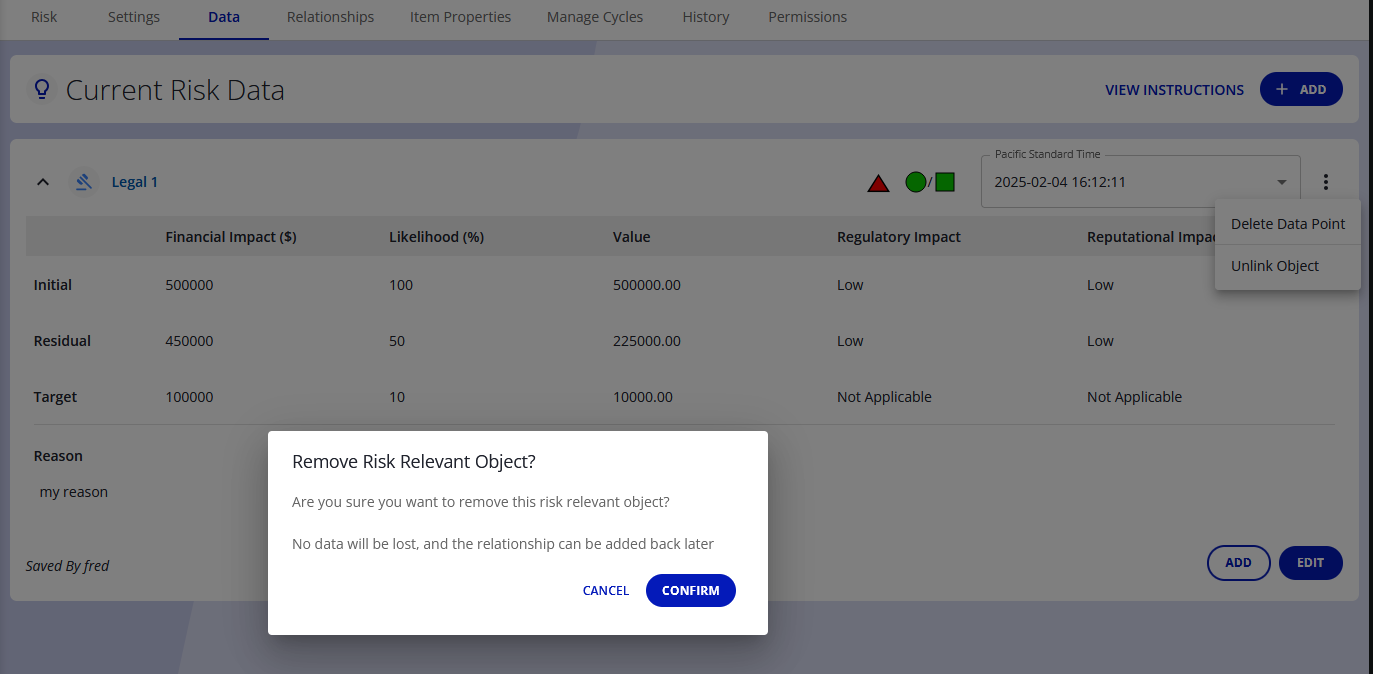
Unlink
Clicking the 3 vertical dots will provide you the option to unlink object. This will remove the risk relevant object from showing up on this tab. This will also remove it from reporting in most cases. If you click the unlink a confirmation dialog will popup asking you to confirm the action.
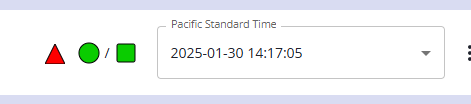
Icons
The icons shown here are used for showing the materiality, initial risk value, and residual risk value at that time. The materiality can only be green or red (true/false). The risk values are based on the impact class definition ranges that were configured for that risk relevant object. Hovering over them will also tell you what they are for. If no data is found for that time range a warning icon will be displayed in its place
Validation
Before being allowed to submit a new data point or edit an existing data point, the changes must pass validation.
The following fields are required:
-
Date
-
Financial Impact (initial and residual)
-
Likelihood (initial and residual)
-
Reason
Input validation
-
Initial financial impact must be greater than or equal to residual financial impact
-
Likelihood must be between 0 and 100
-
Reason field must be less than 2500 characters