Restore Deleted Items
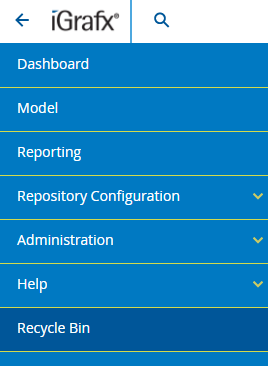
Items that were deleted can now be restored to their place in the repository! The Main Menu now includes "Recycle Bin" which takes you to a list of your deleted items. Those with permission can view and restore items deleted by other users as well.
Instructions for restoring deleted items...
To restore one or more deleted items, do the following:
-
Navigate to the Recycle Bin area via the Main Menu.
-
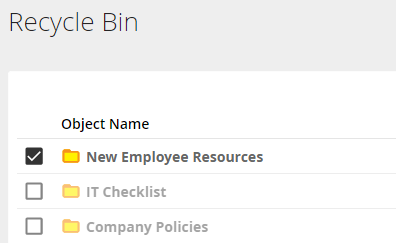
Locate and check the box of the file(s) you would like to restore. Please note that child objects cannot be restored until their parent folder is first restored. In the image below, you can see the child objects are greyed out.
-
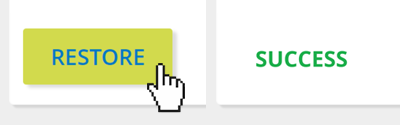
Click the Restore button and wait for the "Success" notification.
-
Now your files are returned to their original locations!
Object Delete Update
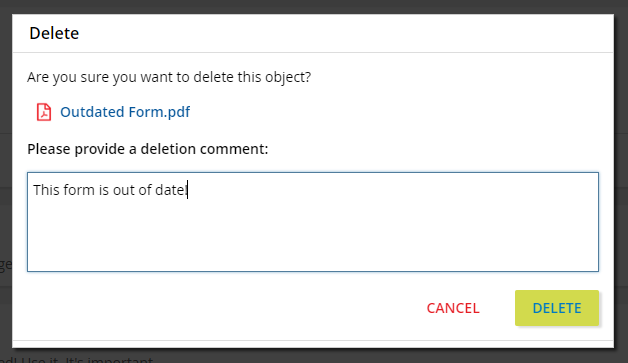
With the inclusion of the Recycle Bin, deletion now requires the user to provide a comment for their decision to delete. This provides important context for past decisions, helps narrow down results when searching for an object to restore, and gives users an opportunity to confirm their actions.
Instructions for deletion dialog...
-
Navigate to the Model area and browse for the item you want to delete.
-
Right-click the item in the Tree, and click Delete Object.
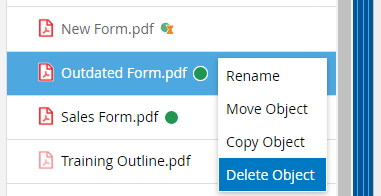
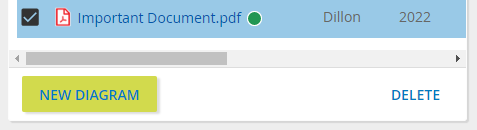
Alternatively, check the item's box in the Contains section, then click the Delete button on the bottom-right.
-
In the resulting dialog box, provide a brief message that provides context for your decision.
-
Click Delete. Your item will appear in the Recycle Bin should you wish to restore it to your repository.
New Administrator Permissions
Administrators can adjust permissions surrounding view/edit rights related to other users' deleted objects.
 Info Center
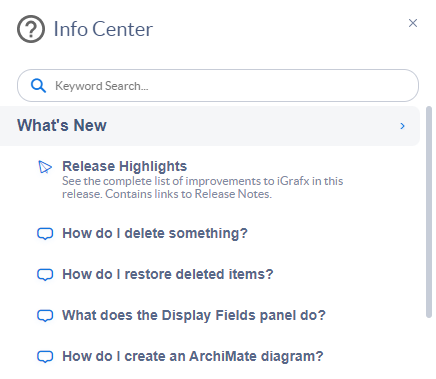
Guides available for new features including the Recycle Bin, new object Deletion behavior, ArchiMate shapes and lines, and the improved Display Fields panel (for those with the feature flag enabled). All of these product walkthroughs are available in the What's New section of the Info Center!
Localization
The Info Center and most of its contents have been localized to Chinese, French, German, Japanese, Polish and Spanish. The new language selection menu can be found at the top of the Info Center. Localization for new content is an ongoing process.
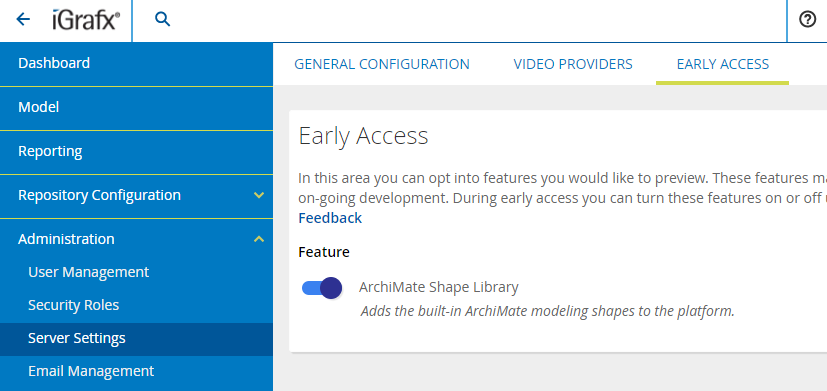
Early Access
Early Access provides an opportunity to explore our latest features before they are released to the world! These features are still in-development, so we would love your feedback.
Instructions for enabling Early Access features...
How to enable Early Access features
-
Go to
Administration→Server Settings -
Navigate to the Early Access tab
-
Toggle the Early Access features that you would like to enable
 ArchiMate Support
ArchiMate shape libraries, lines and arrowheads, and a new default template are now available behind a feature flag. The ArchiMate modelling language supports the description, analysis, and visualization of architecture within and across business domains.
Instructions for accessing the ArchiMate shape libraries...
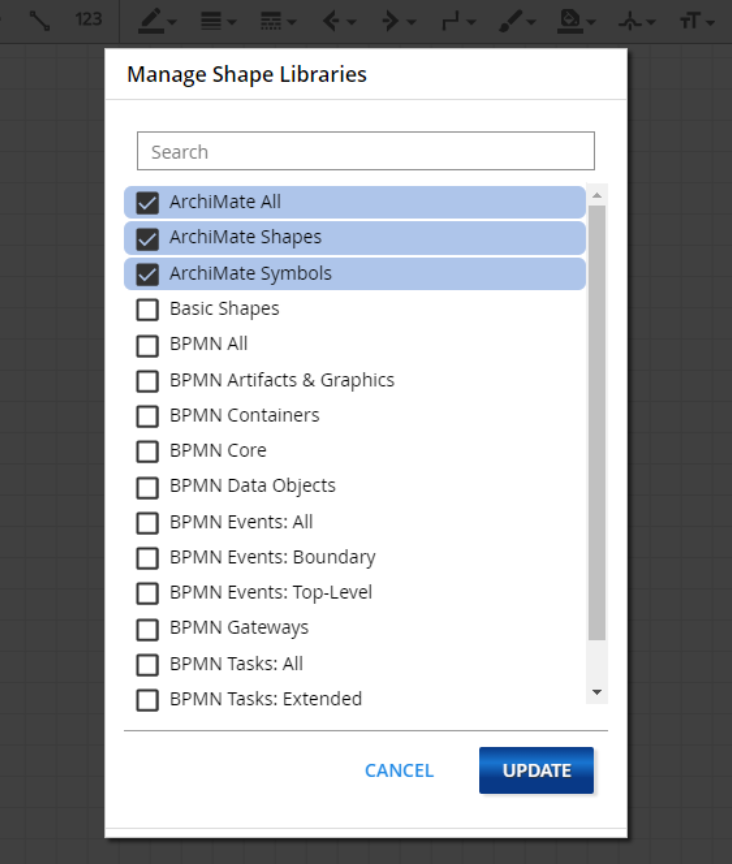
How to add ArchiMate shapes and symbols to your existing diagrams
-
Check with an administrator to confirm the feature flag is enabled
-
Access a checked-out diagram
-
Open the Shape Libraries panel and click MANAGE at the bottom

-
Find and check the boxes for the ArchiMate libraries you would like to use. Your options are ArchiMate Shapes, ArchiMate Symbols, or ArchiMate All (containing both shapes and symbols)
-
Click UPDATE to confirm your selections
-
Access your selections via the menu at the top of the Shape Libraries panel as usual
Instructions for creating a new ArchiMate diagram...
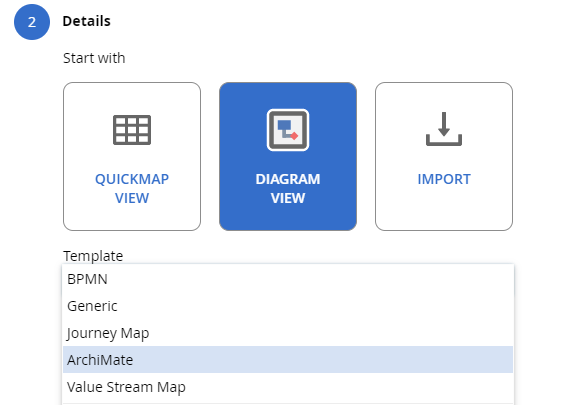
How to create a new diagram using the ArchiMate template
-
Check with an administrator to confirm the feature flag is enabled
-
Create a new diagram using your preferred method (New Diagram button, right-click Tree folder, Add Object, etc.)
-
In the resulting dialog, make sure Diagram View is selected
-
Click the Template dropdown menu, then select ArchiMate
-
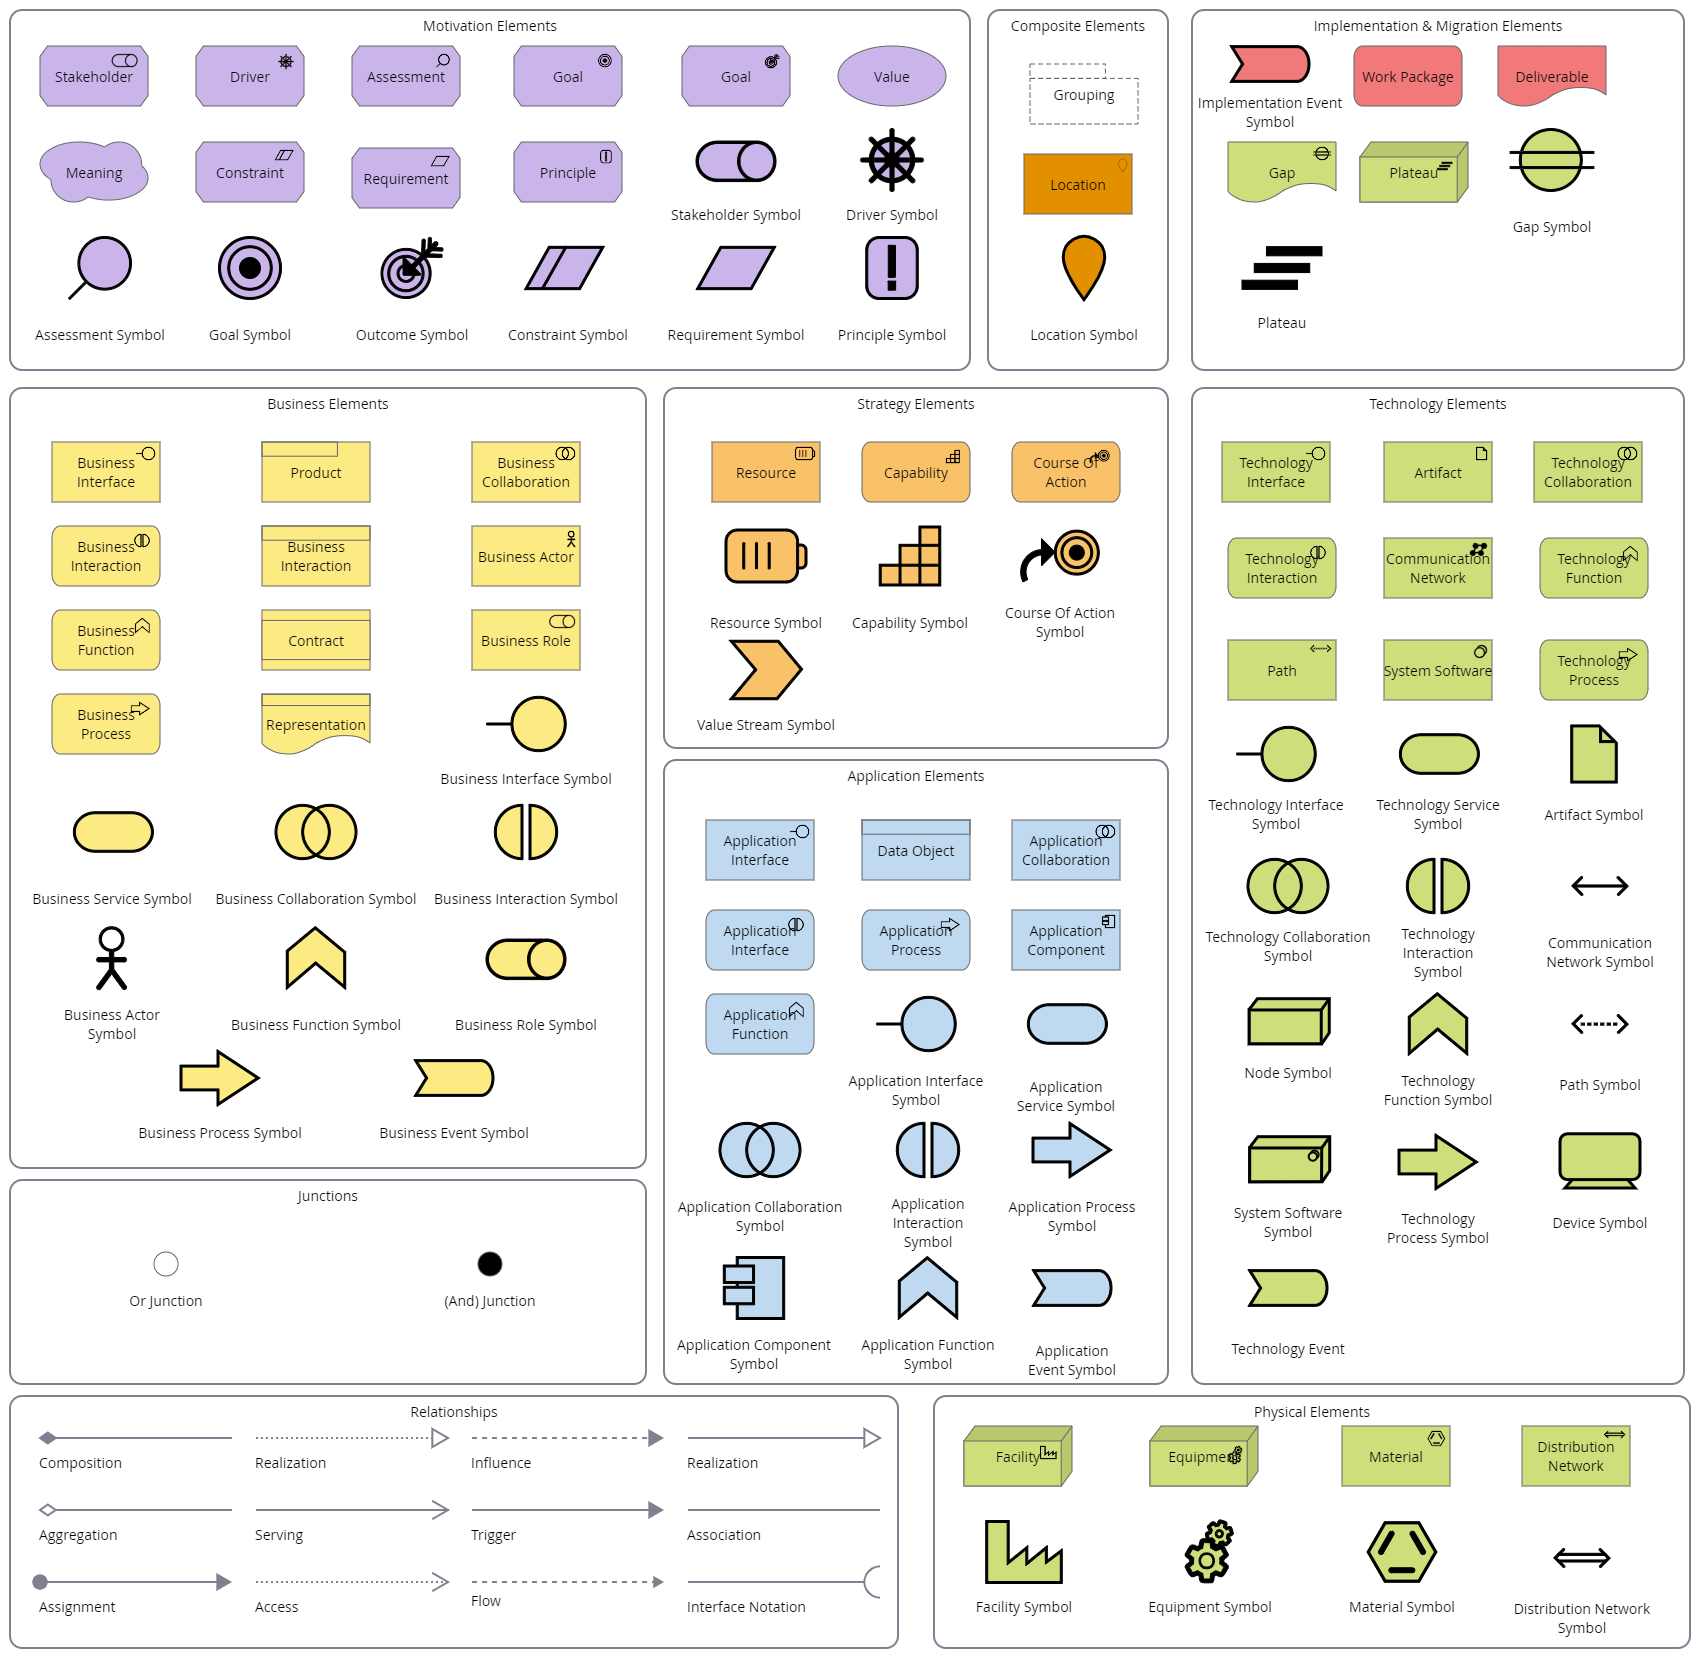
Add any other details to your new diagram, then click Finish
-
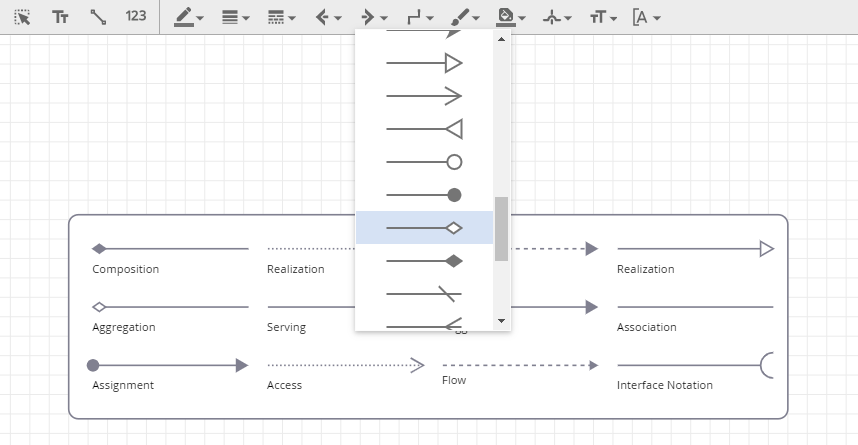
By default, the resulting diagram canvas provides a handy reference guide for all the ArchiMate shapes, symbols and lines and their meanings
Instructions for using ArchiMate lines and arrowheads...
How to create a new diagram using the ArchiMate template
-
Check with an administrator to confirm the feature flag is enabled
-
Access a checked out diagram
-
Click the Dashed Lines icon in the top menu, here you will find the usual line styles, plus the new ArchiMate styles
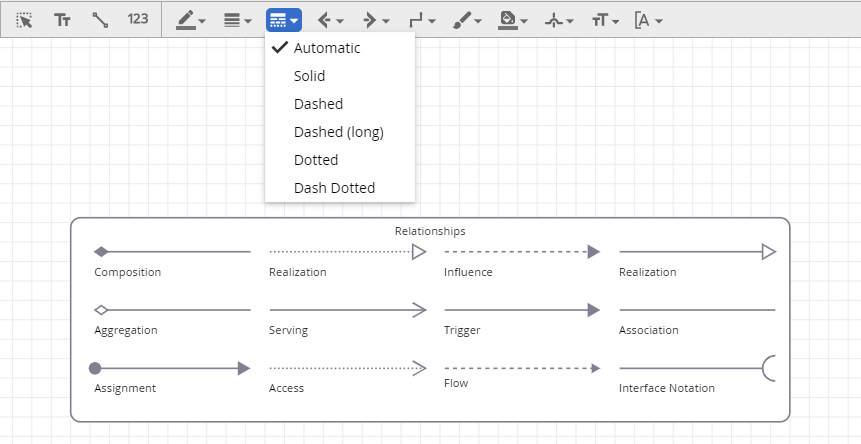
-
To the right of the Dashed Lines icon, you will find the start and end arrowheads menus that include the new ArchiMate arrowheads