Create a diagram with Pia
Describe a process to Pia in a chat, and it drafts a BPMNBPMN An ISO/OMG standard graphical notation for modeling business processes. Process360 Live uses BPMN 2.0 for design and simulation artifacts. diagram you review and finish. You can attach reference documents — for example a procedure or a slide deck — for Pia to read while it drafts. You can also base the diagram on one of your repository's diagram templates, so the draft picks up your standard styling, headers and footers, and page setup — Pia generates the shapes, the template provides the look.
Prerequisites
- Pia diagram creation must be enabled for your organization. It's an Early Access, cloud-only feature — see Process Intelligence Assistance — Pia for how an administrator turns it on.
- You need the item role permission to create objects in the folder where the diagram will live.
- To edit the finished diagram afterward, you also need a license that includes diagram editing — see what your license includes — and the item role permission to modify the diagram.
- To attach documents (optional): your platform needs the Pia Plus license, on top of diagram creation being enabled.
Steps
-
In the repository, go to the folder where you want the diagram and start adding a new diagram.
-
Under Start with, choose the Pia option ("Create using our generative AI assistant").
-
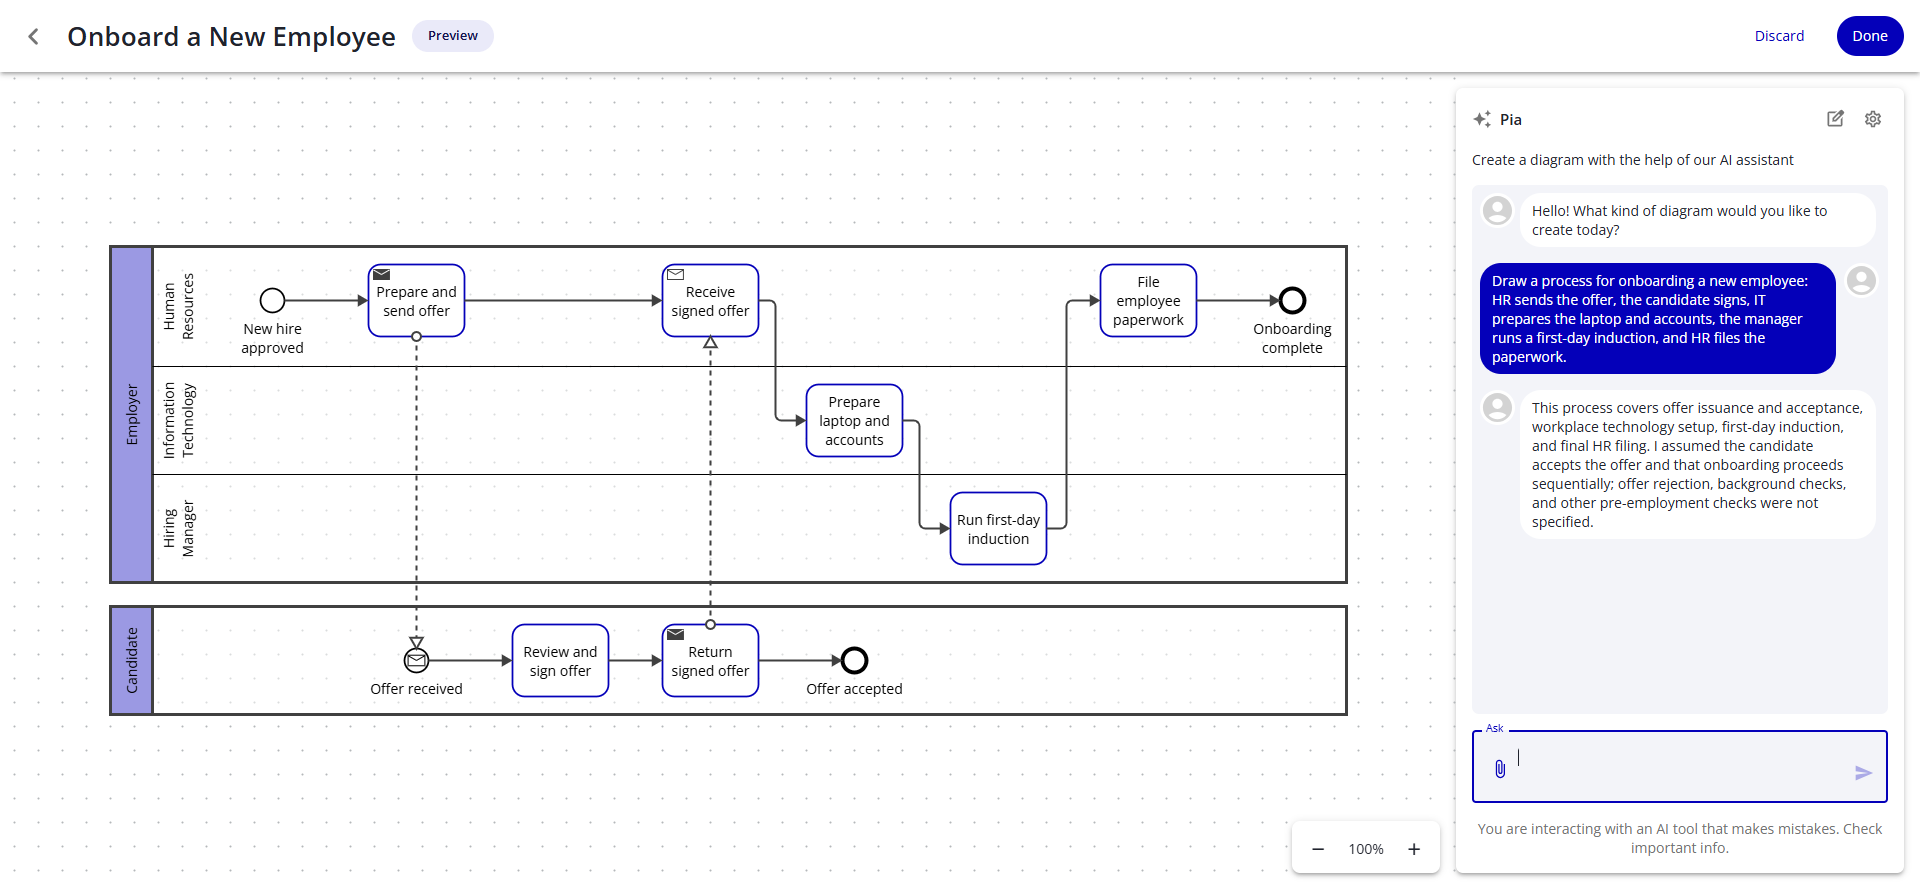
Pick a Template — a built-in one or one of your repository's own. Pia takes the template's setup — styling, headers and footers, page setup, diagram type, and available shape libraries — but not its placed shapes, which Pia generates from your description. Pia styles the shapes it generates to match the template's custom shape library where it can. Then enter a name for the diagram, fill in any required properties, and click Finish. The full-screen Pia creation view opens, with a chat panel beside a preview of the diagram.
-
Describe the process you want in the chat, then send your message. Press Enter to send, or Shift+Enter to add a line break. Pia drafts a diagram and shows it in the preview.
-
(Optional) Attach reference documents for Pia to read:
-
Click the attach-file icon in the chat.

-
Select one or more files. Both documents and images are supported — see Supported document types below.
-
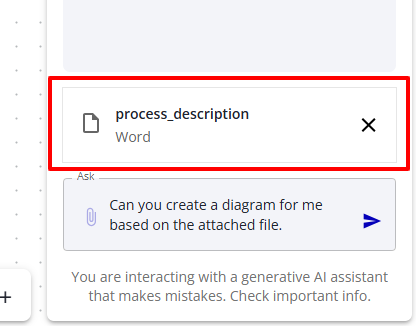
Your selection appears above the chat input. Click the X on a file to remove it before you send.
-
Send your message. The files stay available to Pia for the rest of this conversation, and you can attach more in later messages.
-
If a file can't be read, Pia shows why — Invalid File Type for an unsupported format, Password Protected File for a locked document, or Unable to Process File for other errors. Remove that file or try a different one.
-
-
Keep refining the draft in the chat. The preview updates with each response. You can pan and zoom the preview, and hover a note icon to read its text, but you can't edit the preview directly. To undo a step, select the circular replay-arrow icon on an earlier Pia response; its tooltip reads Revert to this version.
-
When the draft is ready, click Done to finalize and save the diagram. Done stays disabled until Pia has produced a draft, so you can't finish an empty conversation. To abandon the draft instead, click Discard (or the back arrow) and select Proceed to confirm.
Your conversation and draft are kept if you refresh the page or come back to it, until the conversation expires after an hour of inactivity. To start over on purpose, click the square-edit icon in the chat, tooltip New conversation, and confirm — this clears the chat and the diagram preview, and you can't undo it.
Verify
The new diagram opens in the repository as a normal BPMNBPMN An ISO/OMG standard graphical notation for modeling business processes. Process360 Live uses BPMN 2.0 for design and simulation artifacts. diagram. From there you can check it out and edit it with the standard diagramming tools — see Create and edit a diagram.
Supported document types
When you attach files for Pia to read, it accepts these types:
- Documents:
.doc,.docx,.pdf,.pptx,.md,.txt,.xls,.xlsx,.rtf,.odt,.odp,.ods - Images:
.png,.jpg,.jpeg,.gif,.webp
Diagram layout
Pia lays out each draft for you — it places the shapes and routes the flow lines, in the preview and in the diagram it saves when you click Done. You can't move shapes yourself in the creation view, so this layout is what you get until you finalize the diagram and edit it.
Drafting uses an updated layout service that optimizes for better diagram readability. It's on out of the box — the New Diagram Layout for Pia setting under Admin → Server Settings → AI Settings is General Access, so an administrator can still switch it off for a time. When the updated service can't lay out a draft, Pia falls back to the standard layout for that response.
With that setting on, a draft can also be structured in more ways than a plain set of swimlanes. Pia works the structure out from your description — there's no setting to choose:
- It can put the lanes in a named pool, with the participant's name in the pool header.
- It can use several pools where the participants are organizations dealing with each other at arm's length, and keep the divisions of one organization in a single pool with a lane each.
Describe the participants and who does what, and let Pia choose the structure.
Pia also chooses the draft's orientation: a template built around vertical pools starts the conversation with vertical drafts, and you can ask Pia for a vertical layout in the chat. Either way, the orientation carries through the rest of the conversation.
Activity sizing
How Pia sizes the activities it draws is yours to adjust. Click the gear icon in the Pia panel, tooltip Settings, and the Sizing settings open in place of the chat:

- the size activities start at,
- whether text that doesn't fit grows the shape or shrinks the text — with a minimum text size, and a direction to grow in,
- whether every activityActivity A named step in a process (e.g. "Approve Invoice"). Each event in an event log records one activity occurrence for one case. takes the size of the largest one, except activities above a size you set.
Your choices are applied to the current draft immediately and remembered for your future Pia diagrams. Reset to defaults puts them back.
Limitations
- You can't manually edit the preview. You can pan and zoom it, but you only change the draft by asking Pia in the chat.
- Pia doesn't add the diagram to your repository until you click Done to finalize it.
- The full diagramming tools aren't available in the creation view. To edit the diagram with them, finalize it with Done, then check it out.